
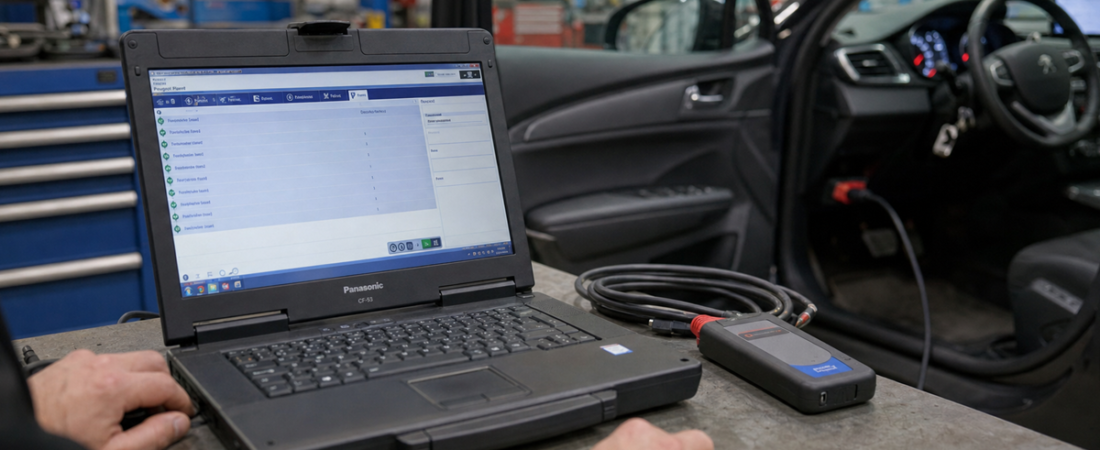
DiagBox v9.85 for Peugeot & Citroen: Complete Installation and Language Setup Guide
DiagBox is the dealer-style diagnostic platform many Peugeot and Citroen owners use when a generic scan tool is no longer enough. It gives you deeper access to fault codes, live data, guided functions, and brand-specific service routines, but the first installation can feel more technical than a normal Windows program.
This DiagBox installation guide turns the local source package into a clear workflow. Instead of guessing your way through driver setup, security prompts, and the first-start language menu, you can move from downloaded files to a working Peugeot or Citroen diagnostic session step by step. If you are still getting familiar with the basics, start with our Przewodnik dla początkujących po oprogramowaniu diagnostycznym OBD2 before you begin.
What You Need Before Installing DiagBox v9.85
The local DiagBox source package is built around a Windows laptop, administrator rights, and a PSA-compatible VCI interface. Before you launch anything, make sure the laptop is stable, has enough free disk space, and is plugged into AC power. Use a direct USB port later when you connect the interface because hubs and unstable cables often create communication issues that look like software bugs. If your workshop uses both universal and OEM tools, compare this setup with our Delphi 2021 installation guide to see why DiagBox demands a more controlled install process.
- A Windows laptop with administrator access
- The extracted DiagBox v9.85 installation package
- The PSA VCI driver included with the package
- Your Peugeot or Citroen diagnostic interface and USB cable
- A stable internet-free or low-interruption environment during activation and first launch
Step 1: Prepare Windows Security and Extract the Package Fully
The local source material starts with a warning many diagnostics users already know well: security software may flag the package because activation-related files and patched launchers trigger heuristic scanning. The goal is not to ignore security, but to prepare the machine correctly before you begin.
- Open Windows Security from the Start menu.
- Go to Virus & threat protection, then Manage settings.
- Temporarily disable real-time protection or configure a precise exclusion for the trusted installation folder.
- Download the DiagBox archive to a local drive and extract it completely with 7-Zip or WinRAR.
- Do not run the installer from inside the archive. Work only from the extracted folder.
Full extraction matters because DiagBox depends on driver files and supporting components that often fail when Windows tries to read them from a compressed archive path. If you have run into blocked launchers or quarantine issues before, our diagnostic software errors and fixes guide covers the most common causes.
Step 2: Install the PSA VCI Driver First
The source package places driver installation before the main application, and that order matters. DiagBox may install successfully without the driver, but you will lose time later if Windows has never been prepared to recognize the PSA interface correctly.
- Inside the extracted package, find the PSA VCI driver installer.
- Right-click the driver file and choose Uruchom jako administrator.
- Allow Windows to complete the driver installation before opening the main DiagBox installer.
- Reconnect the interface only after the driver stage is finished.
Installing the driver first reduces the chance that DiagBox launches properly but cannot see the interface later.
Step 3: Run the DiagBox v9.85 Installer as Administrator
Once the driver is in place, move to the main DiagBox application. The local source file specifically says to run the DiagBox v9.85 executable as administrator. When the installer requests a password, use the password supplied with your package and paste it exactly as provided.
- Locate the main
DiagBox v9.85installer in the extracted folder. - Right-click it and choose Uruchom jako administrator.
- Enter the installer password supplied with your download package.
- Continue through the installation prompts and wait for the process to finish completely.
- Confirm that the DiagBox shortcuts appear on the desktop before closing the installer.
Step 4: Handle the First Launch Prompt and Change the Language
After installation, launch DiagBox as administrator from the desktop shortcut. The source material notes one important first-start behavior: the program may immediately ask you to update in Chinese. Do not accept that prompt blindly. Close it with the window cross, then continue inside the existing installation.
From there, open the DiagBox settings area and switch the interface language. The included screenshots in the source package show the workflow clearly: open the settings icon, choose the language section, and then pick from the supported languages list. For most readers on OBD-Soft, the practical targets will be English, French, or German depending on your workshop and customer base.
- Start DiagBox as administrator.
- If a Chinese update prompt appears on first launch, close it rather than installing the update.
- Open the settings menu from the main interface.
- Select the language option and choose your preferred language.
- Restart the application if the change does not apply immediately.
Step 5: Connect the Interface and Make the First Vehicle Scan
With the software installed and the interface language set correctly, you are ready to confirm real communication. Connect the PSA interface to the laptop by USB, then connect it to the vehicle’s OBD-II port. Switch the ignition on and wait for Windows to finish recognizing the device before you start the session.
- Connect the PSA interface directly to the laptop, not through a hub.
- Plug the interface into the Peugeot or Citroen OBD-II port.
- Turn the ignition on with the engine off unless the software instructs otherwise.
- Launch DiagBox and let it identify the vehicle.
- Run a full initial scan before clearing codes or changing settings.
That first full scan proves the driver and interface chain is working and gives you a baseline record of module communication before any repair decisions are made. For daily use, the habits in our diagnostic software best practices guide will help you keep that workflow stable over time.
Common DiagBox Problems and Fast Fixes
Most DiagBox issues fall into a small number of categories, and the local source package points directly at them:
- Installer will not launch: Re-extract the package, confirm administrator rights, and make sure Windows Security did not quarantine a required file.
- Password rejected: Paste the package password again carefully and verify you are using the correct installer prompt.
- Interface not detected: Reinstall the PSA VCI driver, try a direct USB port, and check Device Manager for driver warnings.
- Unreadable interface language: Close the first update pop-up, reopen settings, and switch to the correct language manually.
- Software opens but communication fails: Check ignition state, cable seating, and whether the interface was fully recognized by Windows before opening DiagBox.
Podsumowanie
DiagBox v9.85 is not difficult once the order is right. Prepare Windows Security first, extract the package completely, install the PSA VCI driver, run the main installer as administrator, dismiss the first Chinese update prompt, set the interface language, and only then move on to the first vehicle connection.
Follow that sequence and DiagBox becomes a practical factory-style diagnostic tool for Peugeot and Citroen work instead of a frustrating install project. For workshops and serious DIY users who need deeper PSA access than a generic scanner can provide, the extra setup effort is usually worth it.
 English
  German
  Spanish
  Italian
  French
  Hebrew
  Dutch
Dutch  Finnish
  Norwegian
  Swedish
  Polish